Homemade Salted Caramel Ice Cream (No Churn!)
This salted caramel ice cream is the dessert you never knew your kitchen was missing: rich, creamy and irresistibly indulgent. No ice cream machine? No problem! This simple no-churn recipe is is here to save the day for you, yielding gourmet-quality results with minimal effort. So get ready to impress your palate, and anyone lucky enough to share a scoop.
Read on to find a detailed breakdown of prep and cook times, serving suggestions, and answers to all your salted caramel ice cream questions. We’re even giving you the nutritional values so you can guiltlessly enjoy every bite!
Why You’ll Love This Recipe
- No Special Equipment Required: Forget about huge ice cream makers. As you only need a hand mixer and a bowl.
- Gourmet flavor: The decadent combination of sweet caramel and a hint of salt make this ice cream taste fancy enough to serve at a restaurant.
- Easy Ingredients: Most of the ingredients are probably staples in your pantry.
- Customizable: You can take this base further by incorporating mix-ins such as crushed pretzels, chocolate chips or toasted nuts.
- Total Time: 6 hours (including freezing time)
- Yield: 6–8 (approx. 1.5 quarts) 1x
Ingredients
For the salted caramel:
- 1 cup granulated sugar
- 6 tablespoons unsalted butter (cut into cubes)
- ½ cup heavy cream (warm to room temperature)
- 1 teaspoon vanilla extract
- 1 teaspoon sea salt (or adjust to taste)
For the ice cream base:
- 2 cups heavy whipping cream (cold)
- 1 14-ounce can sweetened condensed milk
- 1 teaspoon vanilla extract
Equipment You’ll Need:

- A medium saucepan
- A whisk
- A mixing bowl
- Hand mixer or stand mixer
- A loaf pan or freezer-safe container
Instructions
Step 1: Prepare the Salted Caramel
- Melt the Sugar : Begin by placing a medium saucepan over medium heat. Gradually add the granulated sugar, stirring continuously with a wooden spoon or a heat-proof silicone spatula until it melts into a golden caramel. It may take 6-8 minutes, so be patient.
- Add Butter: When все sugar is completely melted, careful добавлять cubes of butter. The mixture will bubble vigorously, but continue whisking until the butter is fully incorporated.
- Pour the Heavy Cream: Whisking, gradually pour in the warm heavy cream. It’ll bubble a little bit as well, but it’s all part of the magic! Whisk until smooth.
- Add Flavor: Add the vanilla extract and sea salt, and stir. Let the caramel cool to room temperature.

Step 2: Whip the Cream
In a mixing bowl, whip cold heavy whipping cream with a hand mixer. Whisk until stiff peaks form (3 to 4 minutes).
Step 3: Combine the Ice Cream Base
Using a spatula, fold the sweetened condensed milk and vanilla into the whipped cream. Fold together until combined to maintain lightness and fluffiness.

Step 4: Add into the Salted Caramel
Pour the cooled salted caramel into the ice cream base. Pull through with a spatula in a swirling motion, forming ribbons of caramel goodness. Don’t overmix — it’s fine if streaks remain visible.
Step 5: Freeze
Pour the mixture into a loaf pan or other freezer-safe container. Cover tightly with plastic wrap or a lid and place in the freezer for at least 5–6 hours, or until set firm.
Notes
How to Serve
- Classic Scoop: For the ultimate dessert, serve the salted caramel ice cream in a cone or a bowl.
- Pair It Up: A scoop on the side of warm brownies, apple pie or even waffles makes it a decadent treat.
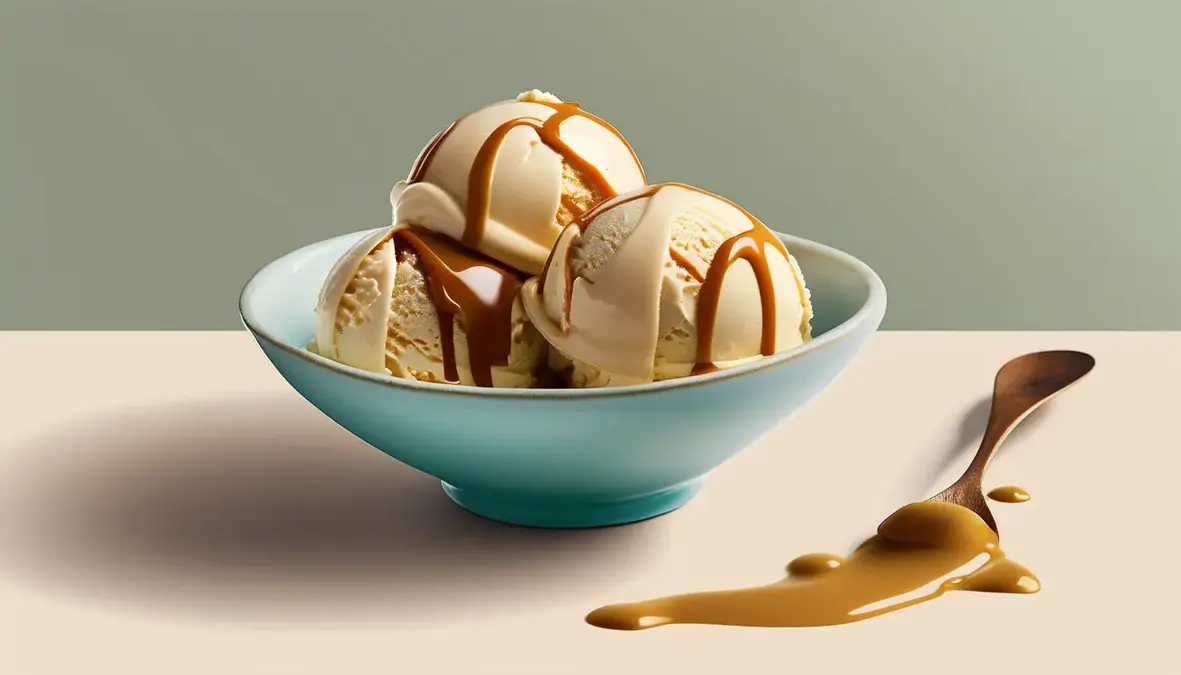
- Heaven on a Top: With extra salted caramel drizzled on top, sprinkle some of flaky sea salt, just to make it look and taste good.
Pro Tip:To scoop more easily, remove the ice cream from the freezer and allow it to sit at room temperature for 5-7 minutes prior to serving.
- Prep Time: 20 minutes
- Cook Time: 10 minutes
- Category: Dessert
- Method: No Bake
- Cuisine: American
- Diet: Vegetarian
Frequently Asked Questions (FAQs)
1. Can I use store-bought caramel sauce rather than making my own?
Absolutely! Store-bought caramel can cut down on prep time. Simply add sea salt as desired for the salted version.
2. How long can I keep homemade ice cream?
Salted caramel ice cream can stay in the freezer, in an airtight container, for 2 weeks.
3. Why is my caramel gritty?
Gritty caramel usually occurs if sugar crystals develop while the sugar is melting. Don’t stir too early, and make sure your saucepan is clean before you begin; Jan will tell you why.
Try This Easy Salted Caramel Ice Cream Recipe to Sweeten Your Days
With its buttery texture and intense salted caramel flavor, this homemade ice cream is a showstopper, perfect for any occasion. Whether you’re a passionate dessert maker or a new ice cream maker, this no-churn recipe guarantees great results with absolutely no fuss.
Go on—make this, serve it to family and pals, and bask in the compliments that come your way. And if you crave even more easy dessert recipes, visit our blog for non-stop inspiration. Happy scooping!